Material
- Raspberry Pi
- Stromversorgung (Handy-Ladegerät mit Micro-USB)
- Netzwerkkabel
- USB Maus und Tastatur
- (optional) USB Hub
- (optional) USB WLAN Stick
Software
-
Betriebssystem, z:B. Raspbian, Pidora o.ä. Gibt’s hier: http://www.raspberrypi.org/downloads
Es gibt zwei Varianten, um die Software auf die Speicherkarte zu übertragen:
-
Installation von NOOBS (New Out Of Box Software):
SD Karte formatieren mit https://www.sdcard.org/downloads/formatter_4/
NOOBS herunterladen und auf die SD Karte übertragen -
Installation von Raspbian:
Raspbian downloaden (780 MB)
Image entpacken (unzip, 2,75 MB)
Mit Win32DiskImager http://sourceforge.net/projects/win32diskimager/ (oder dd) Image auf Karte übertragen
Los geht’s
- Raspberry starten
- Konfiguration: raspi-config
- Default User / PW: pi / raspberry
- (optional) Window Manager starten: startx
Webserver Apache installieren
- sudo su
- apt-get update
- apt-get install apache2
Nach der Installation wird der Webserver automatisch gestartet und ist über die Adresse http://localhost/ bzw. im Netzwerk über die zugewiesene Adresse erreichbar.
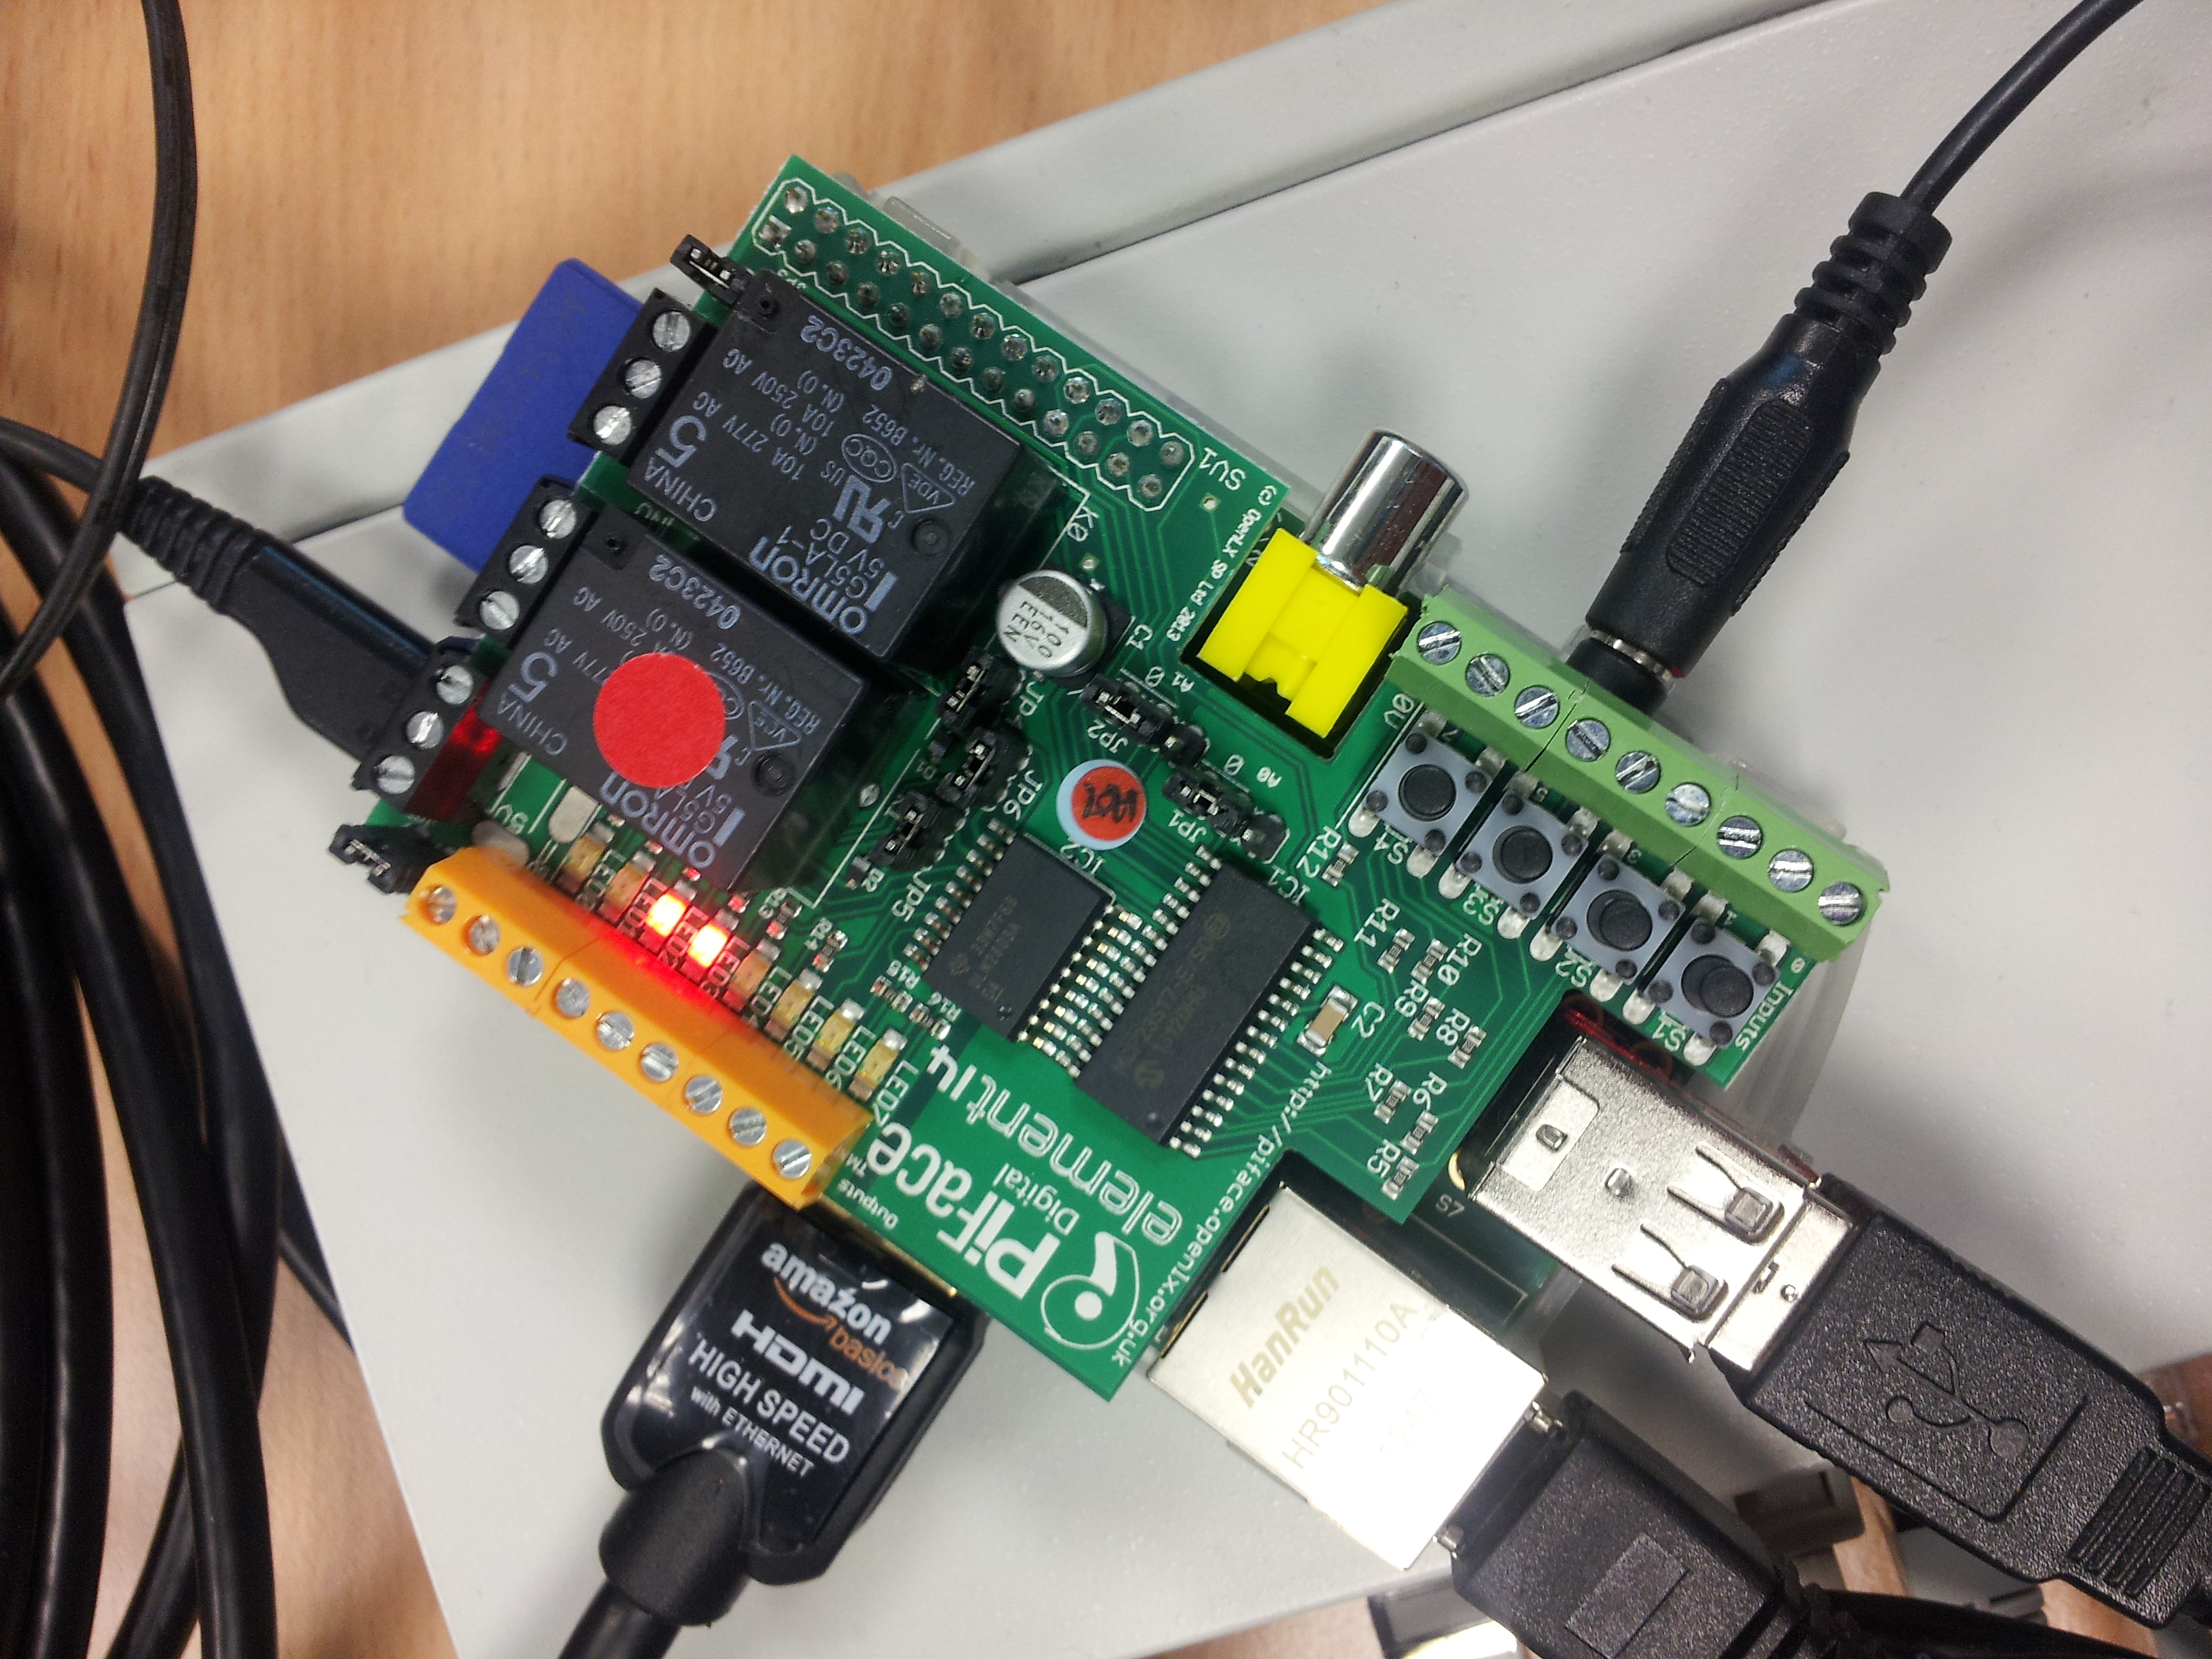
piface
Zur Ansteuerung von externen Geräten und Auswertung von Signalen ist das piface Board geeignet: http://www.piface.org.uk/guides/
piface Software installieren
Ausführliche Anleitung (engl.) unter http://my.pi3g.com/en/interfaces/piface-digital/ oder https://github.com/thomasmacpherson/piface und http://www.farnell.com/datasheets/1684425.pdf
apt-get install python-dev python-gtk2-dev git automake libtool
apt-get install espeak python-django python-simplejson
git clone https://github.com/thomasmacpherson/piface.git
cd piface/python/
sudo python setup.py install
SPI Driver laden
modprobe spi-bcm2708
Programmierung des piface
http://www.bartbania.com/index.php/piface-digital/
https://docs.google.com/document/d/145TkSMwnPAJaqKMLxdvD8aGULQ8UgIIU3hg-JAKwAa0/edit
http://piface.github.io/pifacedigitalio/example.html
http://extant.me/projects/autonomous-vehicle/controlling-piface-with-python-script/
Hier ist unser erstes Testprogramm:
#!/usr/bin/python
from time import sleep
import piface.pfio as p
p.init()
while True:
    p.digital_write(0,1)
    sleep(0.25)
    p.digital_write(1,1)
    sleep(0.25)
    p.digital_write(2,1)
    sleep(0.25)
    p.digital_write(2,0)
    sleep(0.25)
    p.digital_write(1,0)
    sleep(0.25)
    p.digital_write(0,0)
    sleep(0.25)
Das Programm kann mit dem Editor nano (oder wer’s mag mit vi) erstellt werden:
nano testleds.py
Der Aufruf des Programms erfolgt mit
python testleds.py
Wenn alles geklappt hat, werden die ersten drei LEDs nacheinander ein- und ausgeschaltet.
Sprachausgabe
apt-get install mplayer espeak
espeak "i can't stop raving."
espeak -v de "das gefällt mir echt gut."
Die Fehlermeldungen können ignoriert werden.
Resources on the web
- http://www.instructables.com/id/Raspberry-Pi-GPIO-home-automation/?lang=de
- http://pihome.harkemedia.de/
- http://www.michael-heck.net/index.php/tippstricks/hausautomatisierung-fs20
- http://raspberrypiguide.de/howtos/powerpi-raspberry-pi-haussteuerung/
- http://www.sweetpi.de/blog/
- http://www.makeuseof.com/tag/how-to-build-home-automation-system-raspberry-pi-and-arduino/
- http://www.penguintutor.com/electronics/simple-homeautomation-raspberrypi
- http://www.penguintutor.com/electronics/halloween
- http://rayshobby.net/?page_id=5816
- http://www.raspberrypi.org/archives/tag/home-automation
- Projekte und Zubehör; http://www.raspiprojekt.de/
- Vergleich von Einplatinencomputern unter 100 EUR; http://www.heise.de/ct/heft/2014-3-ARM-Boards-fuer-unter-100-Euro-2085405.html
- Ausführliche Anleitung zur Inbetriebnahme des Raspberry Pi; http://www.engadget.com/2012/09/04/raspberry-pi-getting-started-guide-how-to/
- Apache installieren; http://www.forum-raspberrypi.de/Thread-tutorial-raspberry-pi-als-webserver-apache-2-installation